Whidbey Island Vacation Home Remodeling: Practical Kitchen and Bath Design for Coastal Homes
/
Whidbey Island vacation home remodeling is about updating kitchens and bathrooms in island homes so they are easy to use, durable, and suited for seasonal living. These homes are often empty for part of the year and then quickly filled with family and guests, so they need layouts and materials that work without constant upkeep.
The main goal is simple: make the home feel ready every time you arrive. That means better flow, smarter storage, and finishes that can handle coastal air and changing weather.
At Tree Frog Design, we help homeowners plan kitchens and baths in a way that feels practical, clear, and easy to move forward with before construction begins.
Table of Contents
● What makes Whidbey Island vacation home remodeling different
● Kitchen design that actually works for vacation homes
● Bathroom design for comfort and shared use
● Best materials for coastal island conditions
● How the design process usually works
● Common planning mistakes homeowners make
● FAQs
What Makes Whidbey Island Vacation Home Remodeling Different
Whidbey Island vacation home remodeling is different because of how these homes are used.
Most are:
● Used only on weekends or holidays
● Shared by different family members
● Left empty for long periods
● Exposed to moisture and salt air
Because of this, the home has to feel easy to use right away, even after months of being closed.
There is no “daily routine” in a vacation home. So everything from storage to layout needs to support quick, comfortable living without extra effort.
The focus is always on function first, then design.
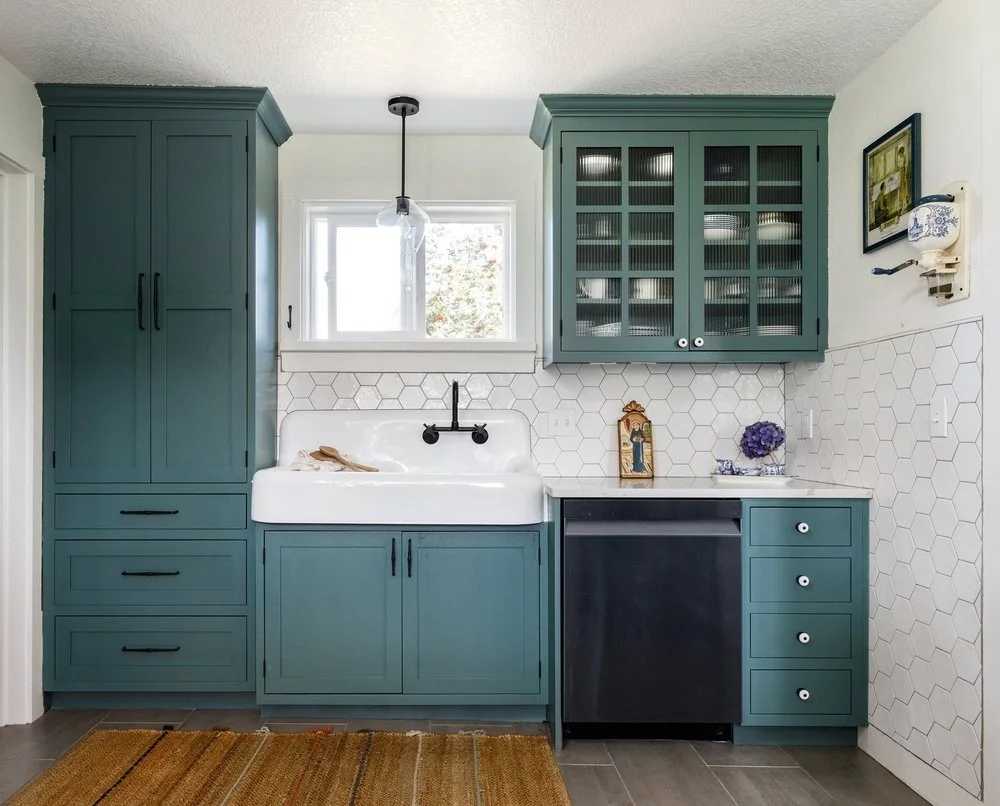
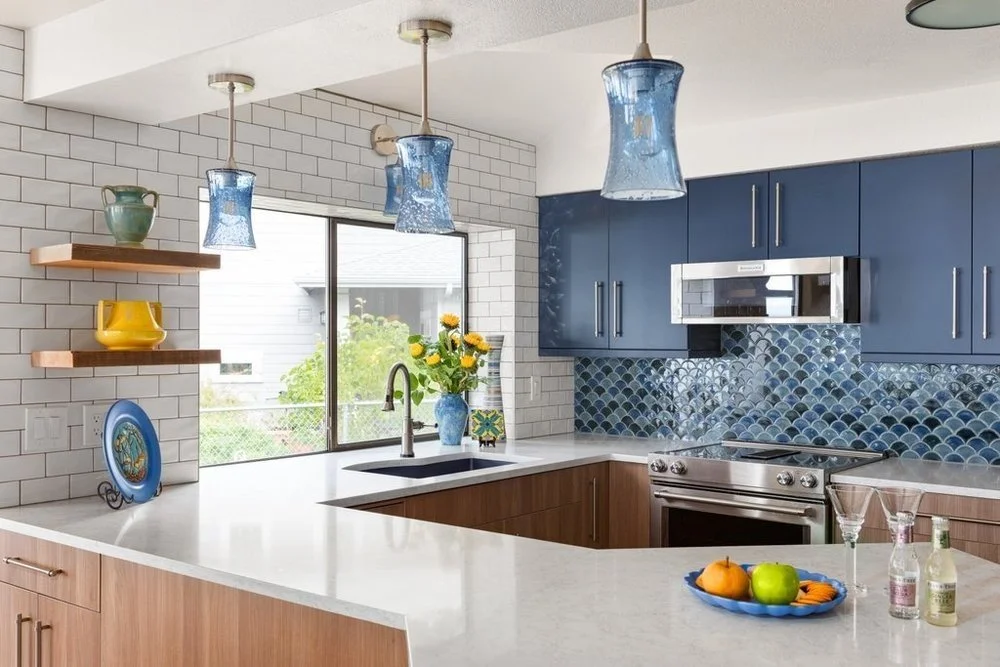
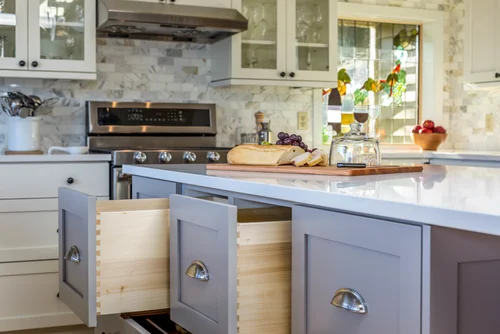
Kitchen Design That Actually Works for Vacation Homes
In most Whidbey Island vacation home remodeling projects, the kitchen becomes the main gathering space.
People cook together, talk, snack, and spend most of their time here. So the kitchen must feel open and easy.
What works well:
Open layouts
Keeps movement easy when multiple people are using the kitchen.
Strong countertops
Quartz and sealed stone are common because they handle spills, cooking, and heavy use.
Simple storage
Vacation homes need space for bulk food, cookware, and guest items.
Good lighting
Natural light is great during the day, but layered lighting helps in the evening.
Low-maintenance finishes
Surfaces should be easy to clean after long gaps between visits.
A good kitchen should feel ready the moment you walk in, without needing adjustments.
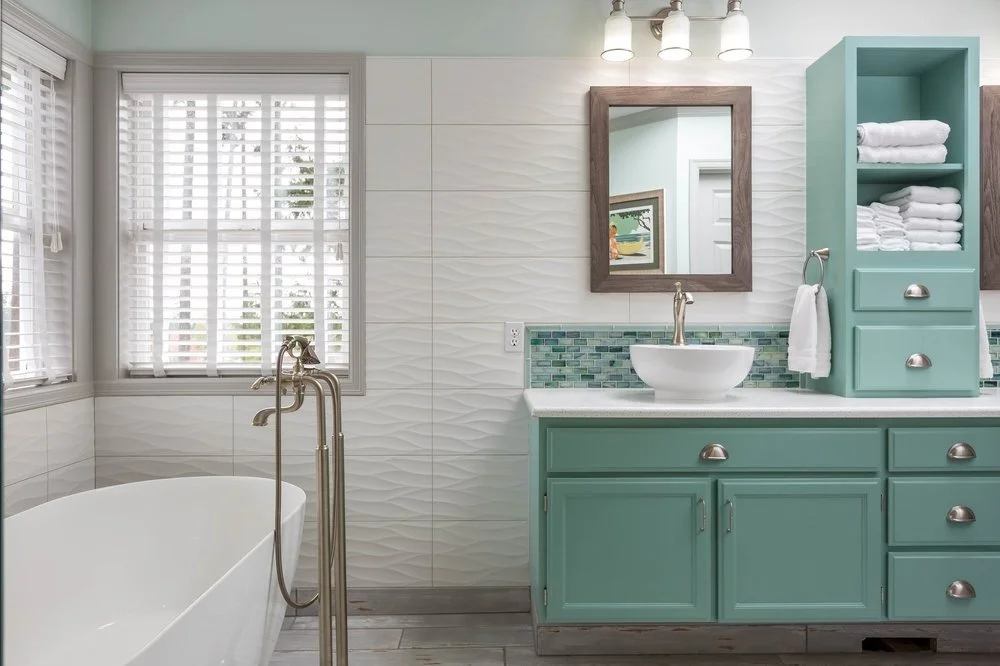
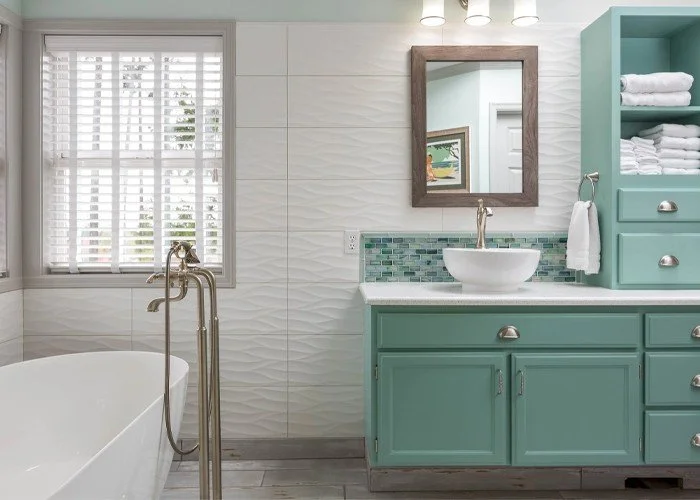
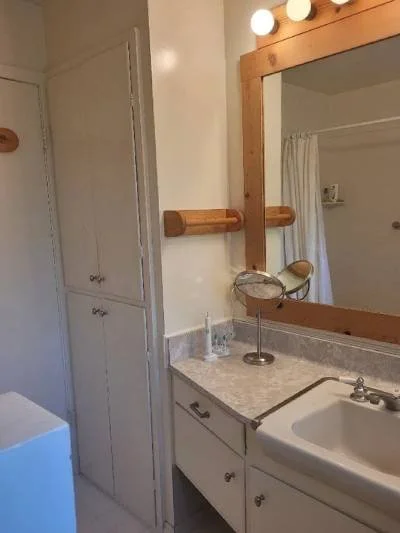
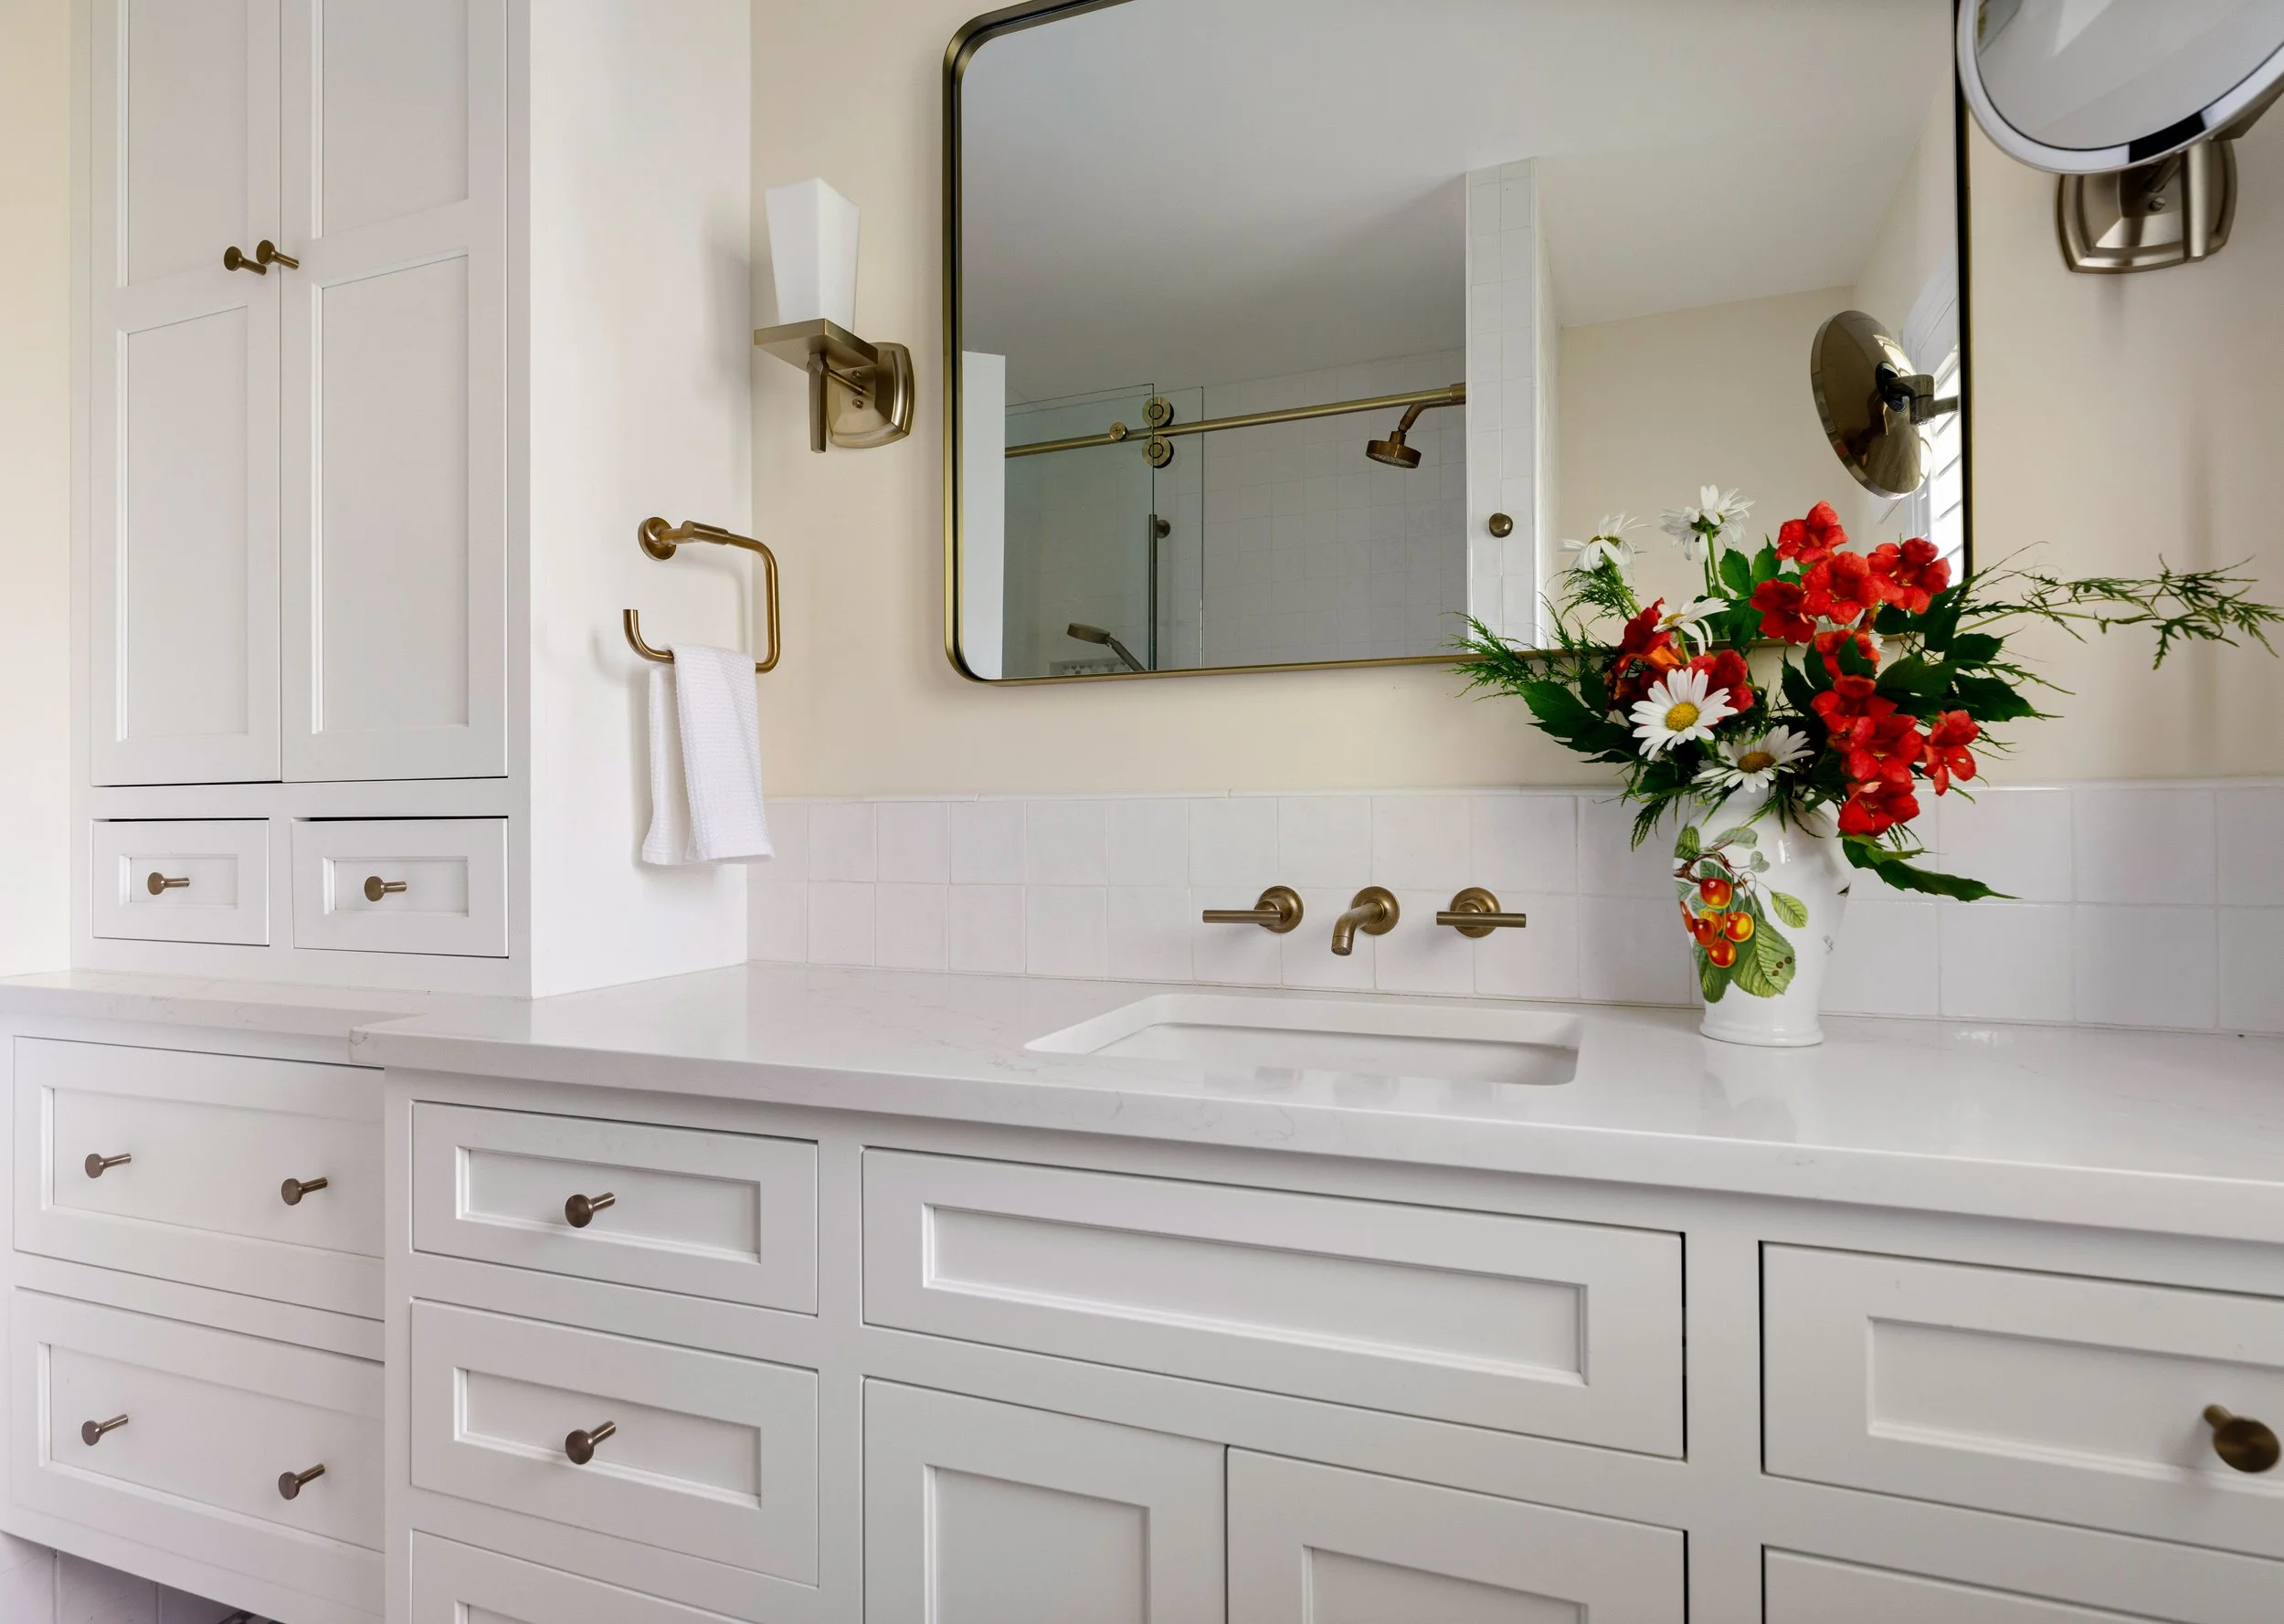
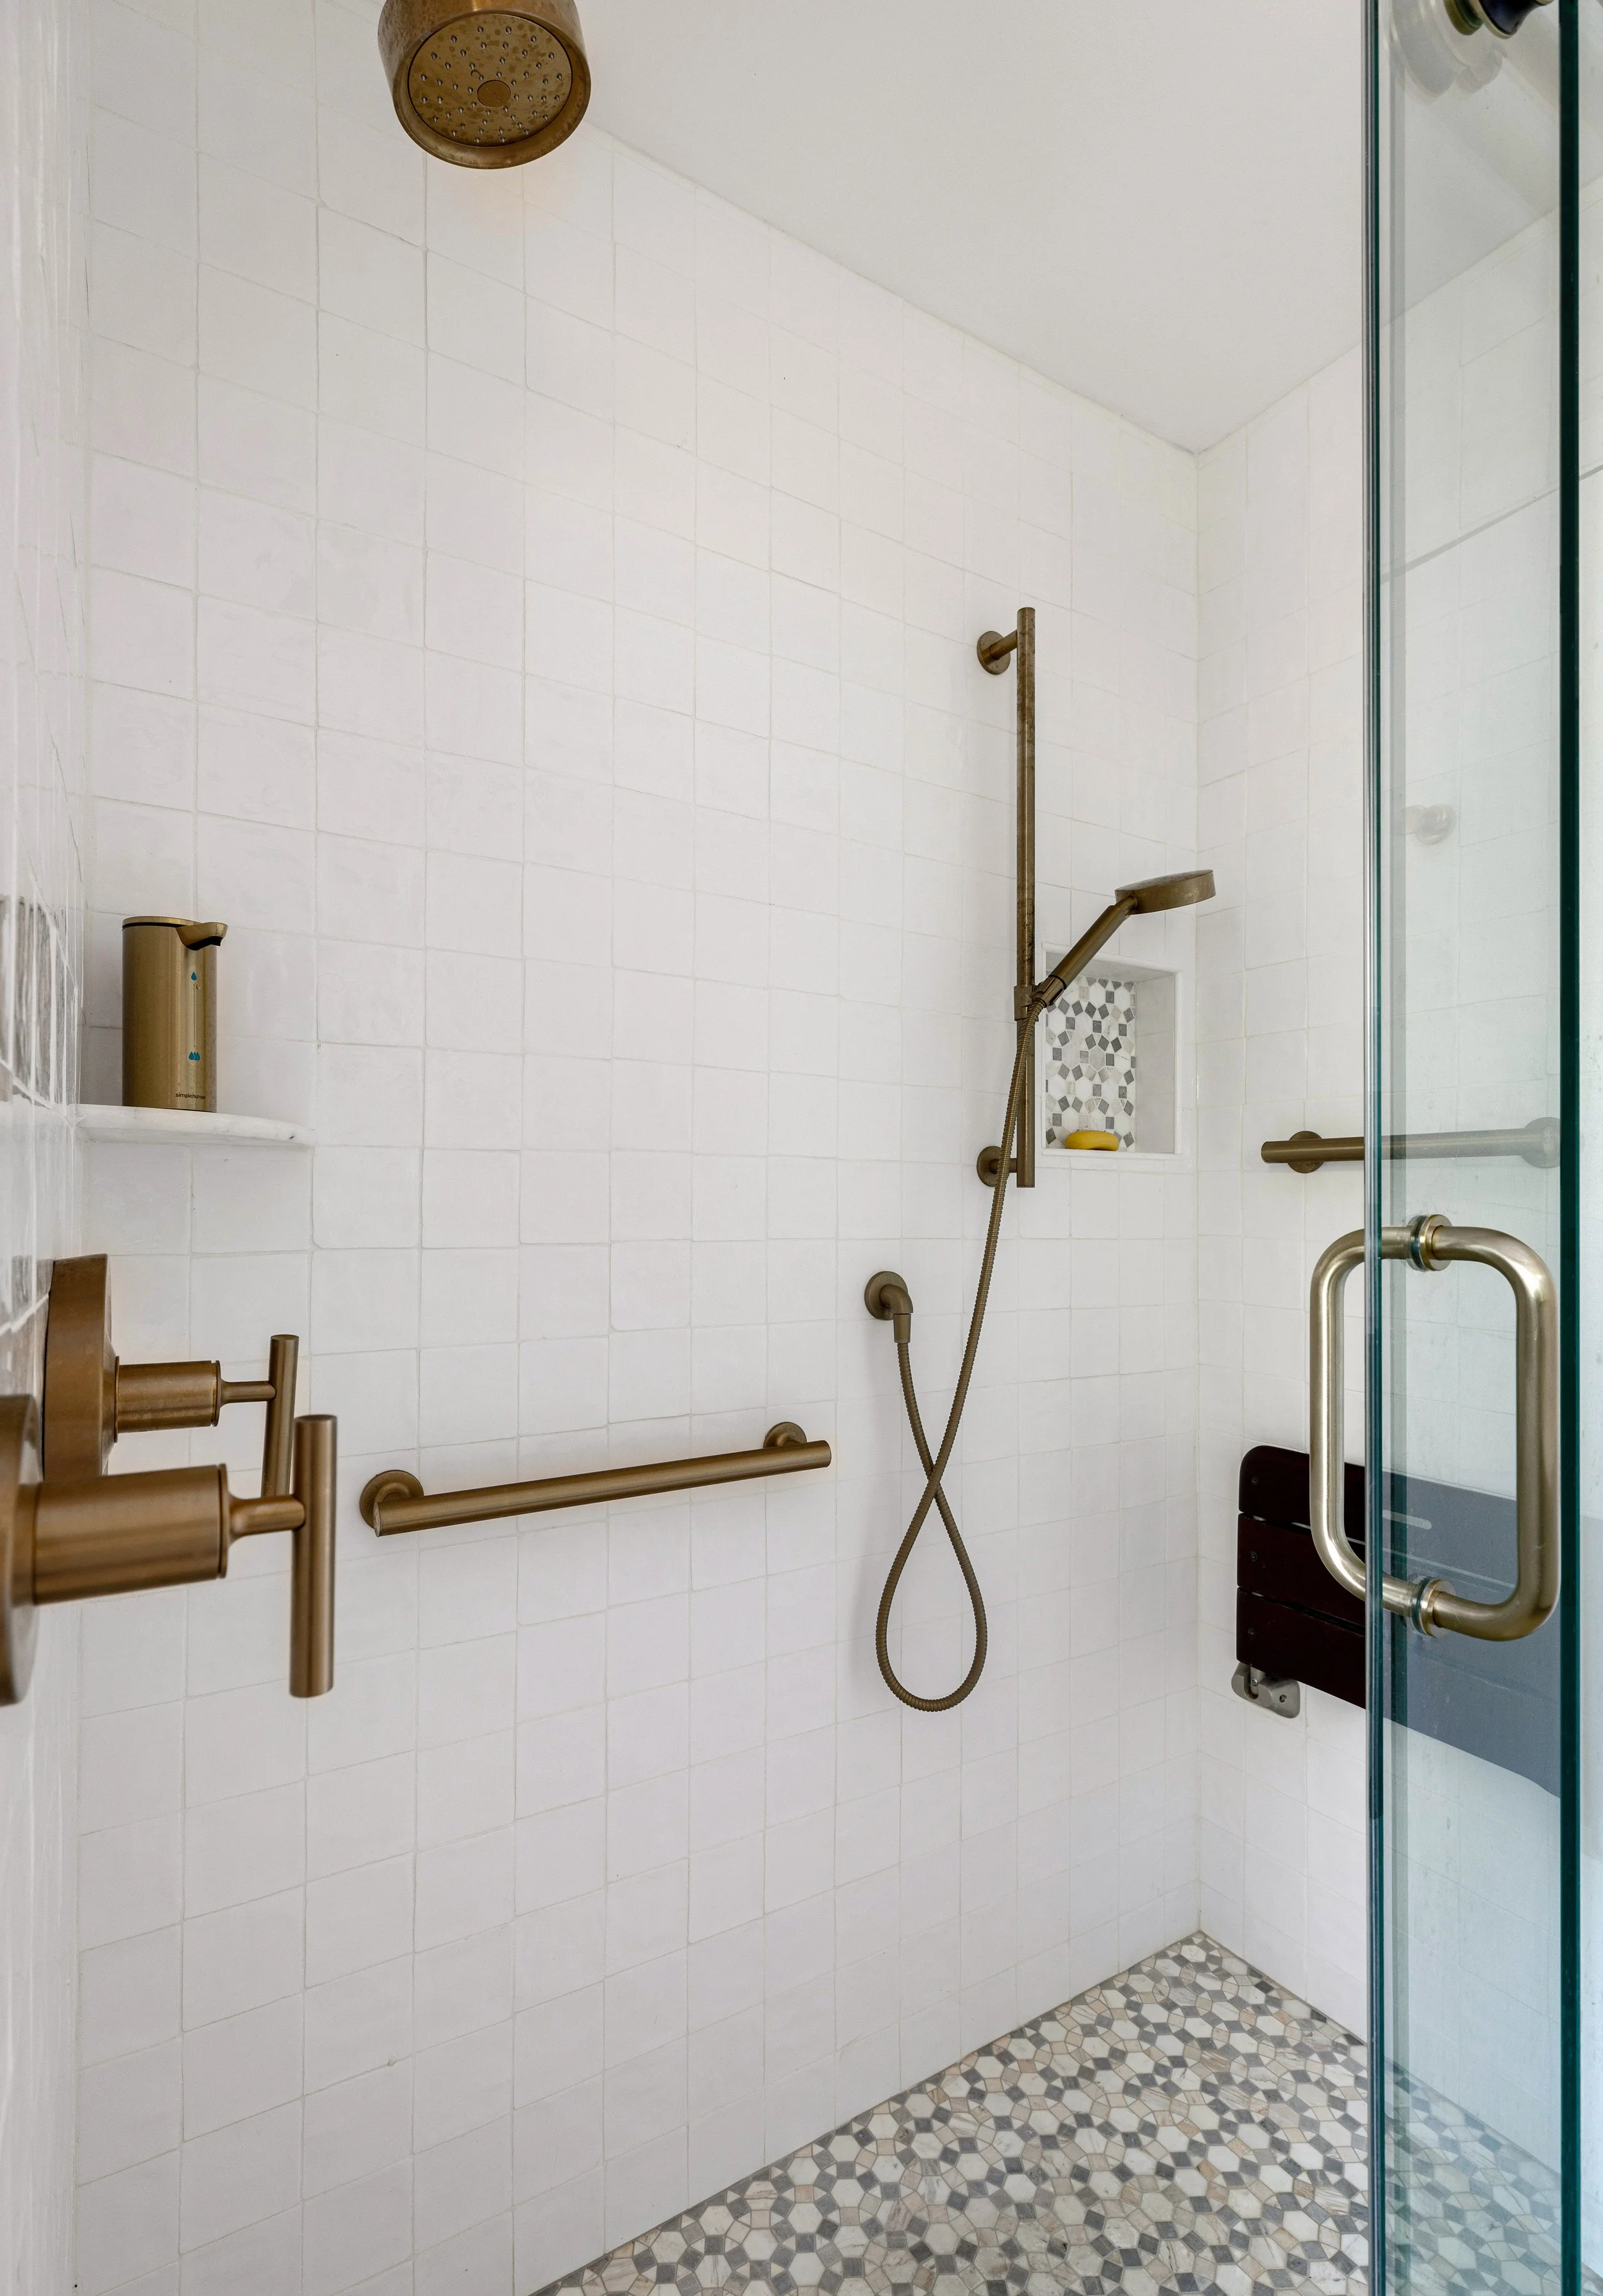
Bathroom Design for Comfort and Shared Use
Bathrooms in Whidbey Island vacation home remodeling often serve more people than a normal home.
That means they need to be practical and easy to maintain.
What helps most:
● Walk-in showers that are simple to clean
● Moisture-friendly materials for coastal air
● Storage for towels and personal items
● Dual sinks when space allows
● Soft lighting for a calm feel
Good bathroom design helps avoid crowding and makes mornings smoother when the home is full.
Best Materials for Coastal Island Conditions
Material choice is a big part of Whidbey Island vacation home remodeling because coastal weather slowly affects finishes.
Here are practical choices:
| Area | Best Material | Why It Works |
|---|---|---|
| Countertops | Quartz | Strong and easy to maintain |
| Cabinets | Sealed wood finishes | Handles moisture better |
| Flooring | Engineered wood or tile | Stable in changing weather |
| Paint | Washable finishes | Easy to clean and refresh |
| Fixtures | Stainless or coated metal | Resists corrosion |
These materials help reduce long-term wear and keep maintenance simple.
How the Design Process Usually Works
A clear process helps keep Whidbey Island vacation home remodeling organized, especially when homeowners are not always on the island.
Step 1: Understand how the home is used
We start by learning how often you visit and how the space is used.
Step 2: Review the space
We measure and study the layout to see what can be improved.
Step 3: Create the design plan
We design kitchen or bathroom layouts that improve flow and storage.
Step 4: Help with material selection
We guide you through cabinets, counters, tile, flooring, and fixtures.
Step 5: Final drawings
Clear plans are prepared so construction can follow smoothly.
This process keeps everything clear and avoids confusion later.
Common Planning Mistakes Homeowners Make
In Whidbey Island vacation home remodeling, most problems come from planning too quickly.
Common mistakes include:
● Choosing finishes before final layout
● Not planning enough storage
● Ignoring moisture and coastal conditions
● Designing for looks instead of daily use
● Overcomplicating small spaces
Simple planning almost always leads to better results.
FAQs
1. What is Whidbey Island vacation home remodeling?
It is the process of updating kitchens and bathrooms in seasonal homes so they are more practical, durable, and easier to use when you visit.
2. What should I focus on first?
Start with layout and function. Once the space works well, selecting materials becomes much easier.
3. What materials are best for island homes?
Quartz countertops, engineered wood flooring, sealed cabinets, and moisture-resistant finishes work best in coastal conditions.
4. Can I use my own contractor?
Yes. Many homeowners do. Clear design drawings help ensure the project is built correctly.
5. Why is planning so important for vacation homes?
Because the home is not used every day, good planning ensures it still works smoothly after weeks or months of being closed.
Final Thought
Whidbey Island vacation home remodeling is really about making life easier when you return to your home. It should feel familiar, comfortable, and ready to use without extra effort.
When the kitchen flows well, the bathroom is simple, and the materials are chosen carefully, the home naturally becomes more enjoyable to spend time in.
Tree Frog Design helps homeowners shape these decisions early so the finished space feels practical, calm, and easy to live in year after year.